I want to create an edit-in-place check box, how do I do that.
Answer:
The first place to start is to set up your list box. Right click on the particularly list box and select 'List box format...'
In the List box formatter window select the column that is going to contain the check box. On the General tab change the picture format for the data field to: @p p
This picture sets a blank space and thereby removes the data value from the column so the user don't see the value of the check box e.g. 1 or 0.
Next select the Appearance tab. Here you can tell the List box formatter that you want to include an icon in the list box. Go to the Icon box and select Normal or Transparent.
Now you have enabled icons in the column. Next you have to define what icons to show. Close the List box formatter window and right click in the list box again but this time select actions:
Scroll the tabs until you get to the icons tab. Her you are presented with a list box containing the columns in which you have set the icon attribute in the list box formatter. Mark the column and press the Properties button:
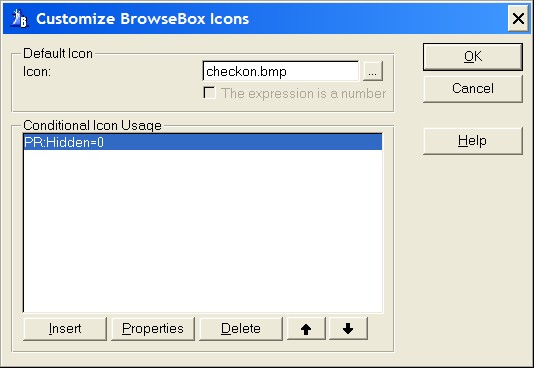
In the Customize BrowseBox Icons window start by setting the default icon, in this case it is the CheckOn.ICO. Next you set the Conditional Icon Usage. Select the Insert button to open the Conditional Icon Usage window. Now you have to set a condition for the icon when to set the Check off icon:
The two icons used for check and check off are both provided with the EIP sample application.
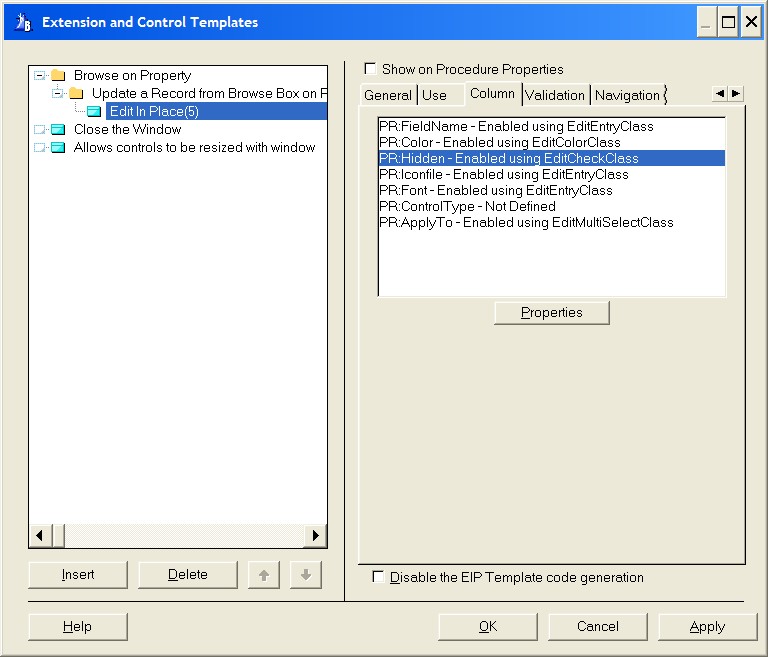
You have now created a list box that shows check box icons for on and off values. Next step is to use the EIP Template to change these values on the fly. In the EIP Template select the column tab and then the column that contains the check icons.
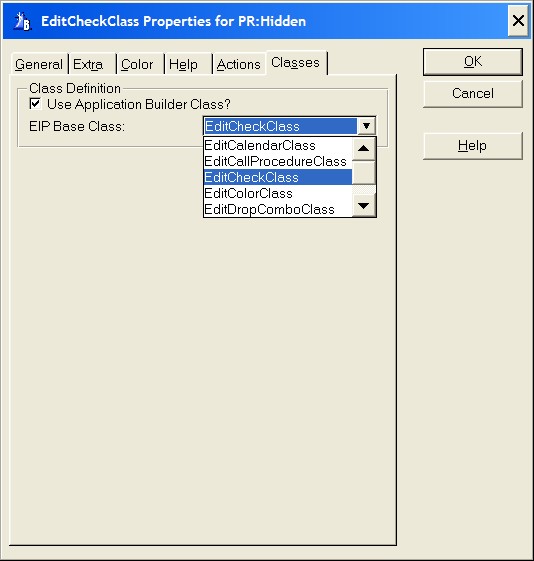
Press the properties button. In the EIP Base Class entry drop down field select the EditCheckClass.
When the user is in edit in place mode he or she will only see the check icon when the check box column has focus. What you can do here is set the EIP queue column value to transparent. In this way the actual icon in the list box is always visible. To set queue column property to transparent select the general tab and mark the Transparent check box.
When the check box column is set to transparent and it has focus you have to insure that the EIP queue icon is exactly over the list box icon so it does not look as if there is two icons in the same column entry field. You can do this by setting the offset value for the EIP queue icon. Select the extra tab and set the offset value (this value is negative). This value can change depending on the font used in the window for the list box .